Greetings, fellow techies! Did your Samsung Galaxy S22 Plus get heavily damaged? But you cannot afford to go to any smartphone repair shop?
Don’t worry; we’ve got you covered! This comprehensive guide will guide you through each Galaxy S22 plus screen replacement process step. Let’s get started!
Step 1: Backup Your Data
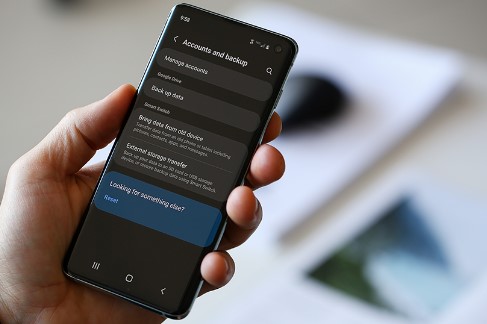
Before repairing, you should always back up all your important data. It’s essential not to lose any information during the process.
 Step 2: Purchase a Replacement Screen
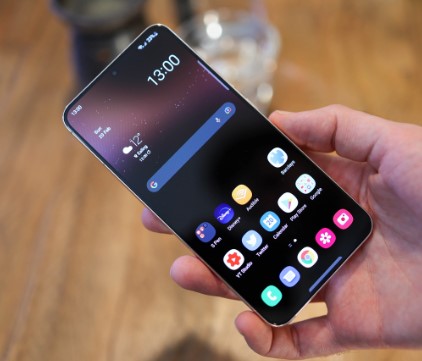
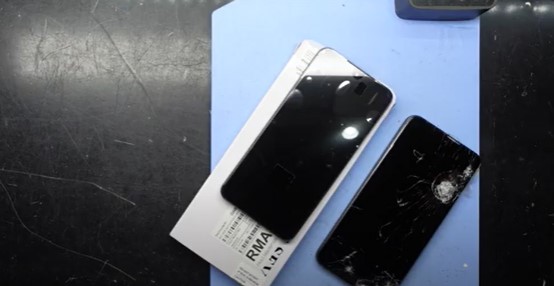
You need to purchase an original Samsung replacement screen. You can get the screen from authorized dealers in your area or good online stores. Sometimes we make mistakes and choose the wrong replacement screens. So make sure you buy a screen model suitable for the Samsung Galaxy S22 Plus.
 Step 3: Gather the Necessary Tools
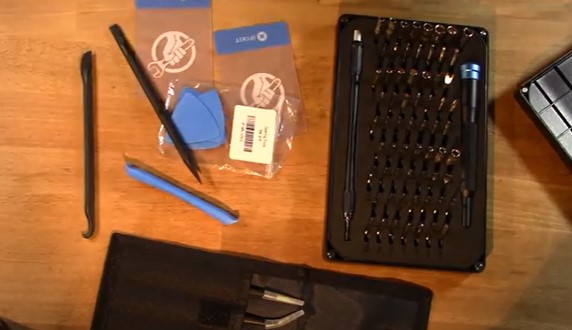
We need to have the necessary tools. For the Samsung Galaxy S22 Plus screen replacement, we’ll need a set of prying tools, small screwdrivers, and tweezers. These tools are essential for us, so we can safely remove the old screen and install the new one.
 Step 4: Power Off the Device
You should always make it a rule to turn off your phone completely before starting your repair process.
 Step 5: Heat the Bottom Of Your Samsung Galaxy S22 Plus
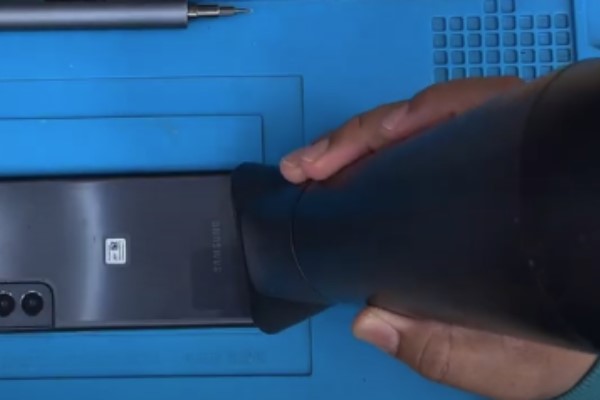
First, warm up the edges of the back cover on your phone. You can use a hair dryer, heat gun, or hot plate. Be careful not to overheat the phone because it can damage the display and internal battery. Heat it for about three minutes to loosen the adhesive underneath. This will make it easier to remove the back cover.
 Step 6: Remove the Back Cover
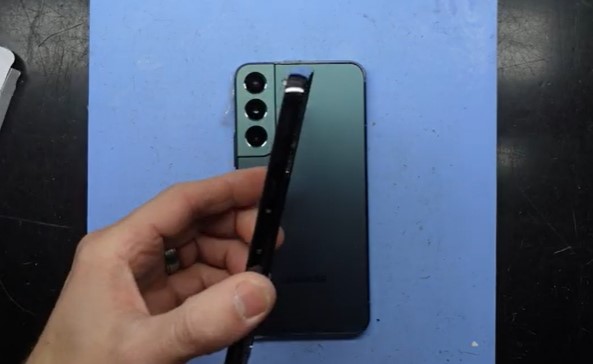
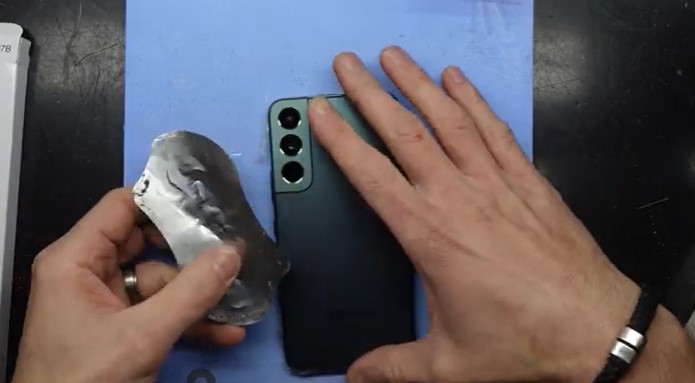
We’ll now use a thin metal pry tool to remove the back cover. You can spray Isopropyl on your pry tool, as it will help to remove the cover more easily.
 Step 7: Unscrew the Screws
Next, it’s time to remove the screws that hold the screen in place. Grab a small screwdriver and carefully unscrew these screws. Take it easy, be patient, and do not lose any of these small screws.
 Step 8: Remove the Charging coil & NFC Antenna
To remove the NFC antenna and charging coil assembly from your device, you must handle it carefully and gently pull it.
 Step 9: Disconnect the Battery
Now, let’s disconnect the battery to make sure your phone is completely powered off before proceeding. Look for the battery connector, usually a tiny plug connecting the battery to the phone’s internals. Gently disconnect it by carefully pulling it apart.
 Step 10: Remove the SIM Card Tray
Now remove the SIM card from your Samsung Galaxy S22 Plus. For this, you need to locate the small hole on the bottom edge of your phone. Then use a SIM eject tool and gently insert it into the hole. Apply slight pressure until you feel resistance. Then, push firmly to eject the SIM card tray. It will slide out easily once released.
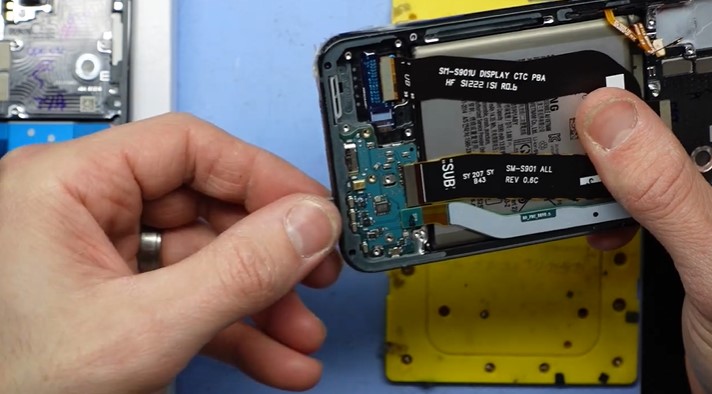
 Step 11: Disconnect Screen Flex Connector
Now carefully disconnect the screen flex connector.
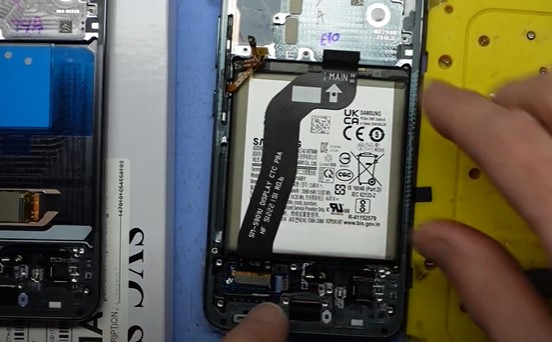
 Step 12: Remove Loud Ear Speaker
Take out the loud ear speaker piece. Make sure to taken out all the screws. Now gently take out the speaker and put it aside.
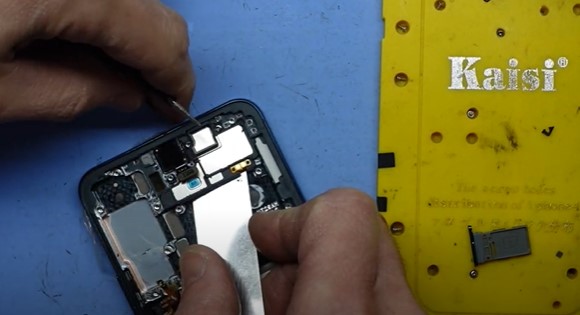
 Step 13: Remove Front Facing Camera
Now use the tweezers to break the adhesive under the front-facing camera of your Samsung Galaxy S22 Plus.
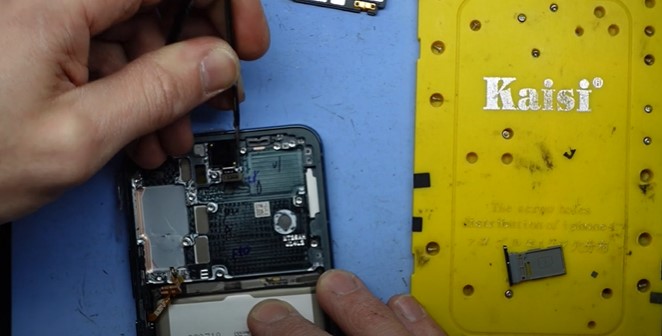
 Step 14: Remove the Battery
Now take a plastic pry tool and remove the battery. You can also put a few drops of Isopropyl to remove the battery easily.
 Step 15: Remove the Button Pad
Use your fingers or tweezers to grab and remove the button pad first.
 Step 16: Remove the Power & Volume Button
To remove the power button, you have to take a tweezer and insert one arm into the small opening where the power button is. Now push the tweezers and apply light pressure to push it out of the frame. Use your fingers to grab and remove the button. Repeat the same process with the volume button.
 Step 17: Put the Power & Volume Button on the Replacement Screen
Use your fingers to put the power button and volume button in your new replacement screen.
 Step 18: Put the Button Pad in the Replacement Screen
Now slide the button pad into the replacement screen using your fingers. Apply a little pressure with your fingers, so it gets fixed. You can also use the tweezer for this purpose.
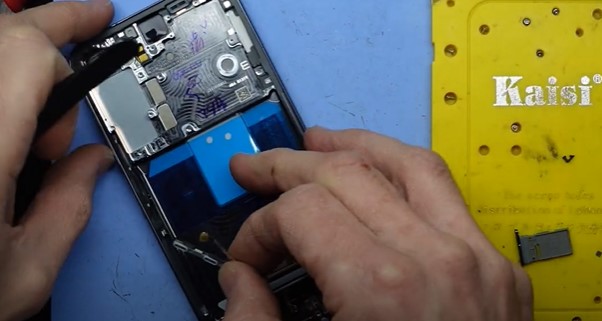
 Step 19: Put Front Facing Camera
Use an adhesive and put it around the parameter of your front camera. In this case, we have used B7000 frame adhesive.
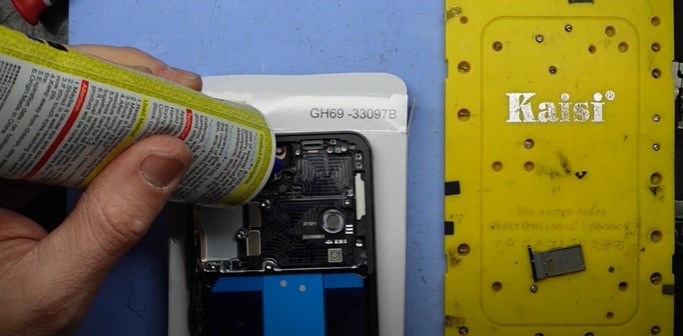
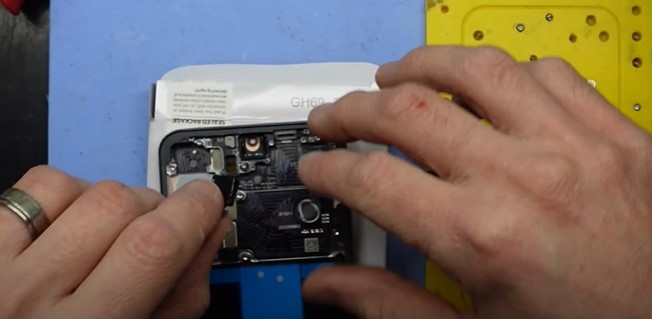
 Step 20: Place Earpiece Speaker
Now place the earpiece speaker and tighten up the screw.
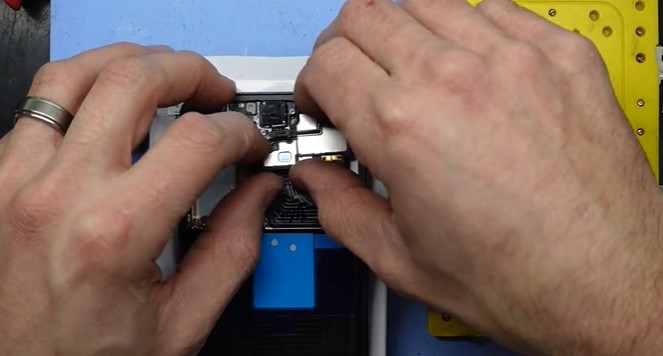
 Step 21: Place Battery
Place the battery into your new screen replacement.
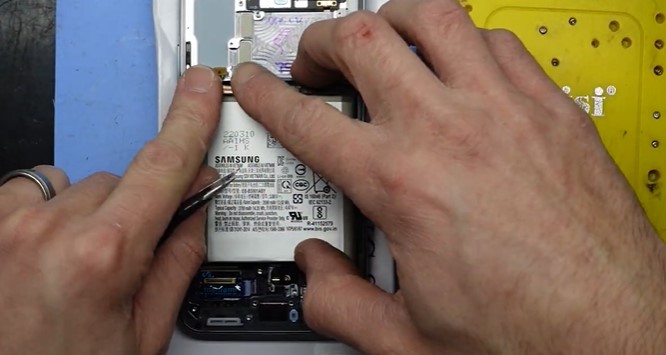
 Step 22: Place Rear Cameras Board
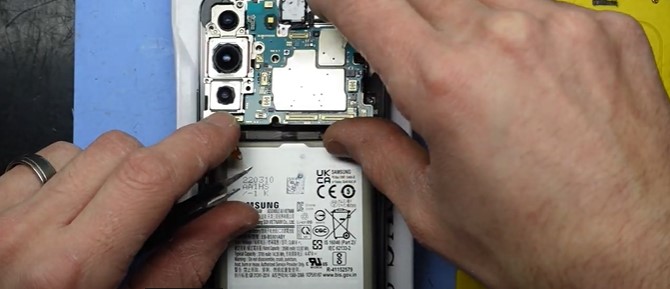
 Step 23: Connect the Home Button and Power Buttons
Carefully connect the home button and power buttons with the help of tweezers.
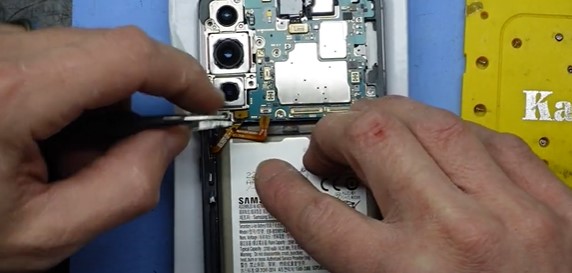
 Step 24: Place the Charging Board
Place the charging board at an angle of 45 and push it down. Put the three screws and fix them.
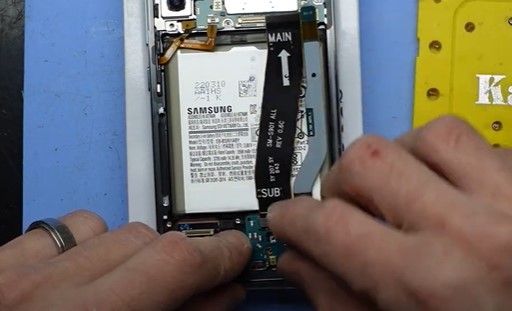
 Step 25: Reconnect Interconnect Cables
Gently reconnect the interconnect cables with the help of tweezers or your fingers.
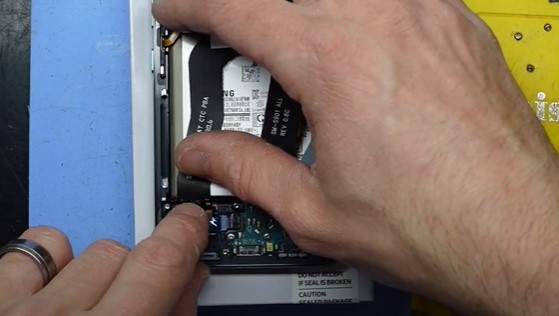
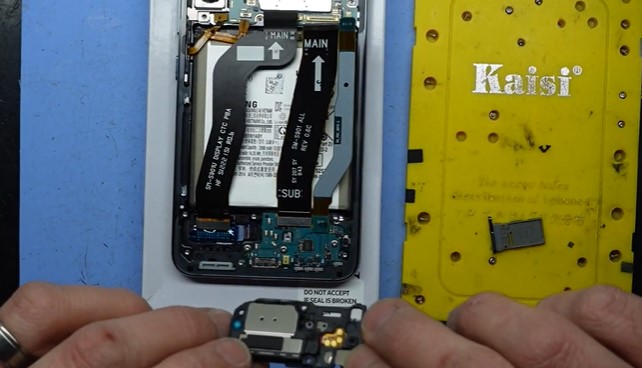
 Step 26: Place Loud Speaker
The next step is placing in the loudspeaker. Push and click the loudspeaker into the position. Put the screws back into their positions.
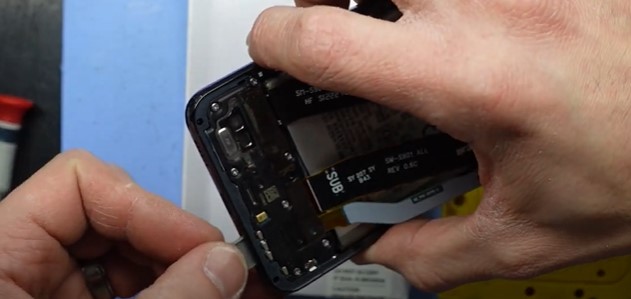
 Step 27: Put the Sim Tray Back
Put the sim tray back into the screen and push.
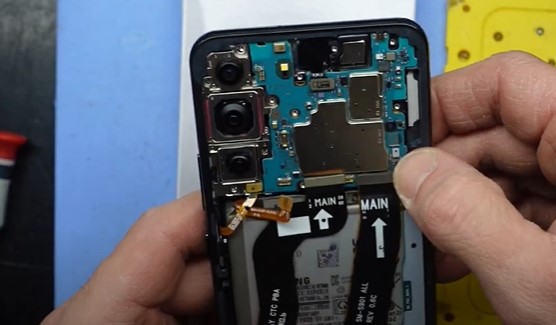
 Step 28: Reconnect the Connectors
Reconnect the battery connectors one by one to the main board.
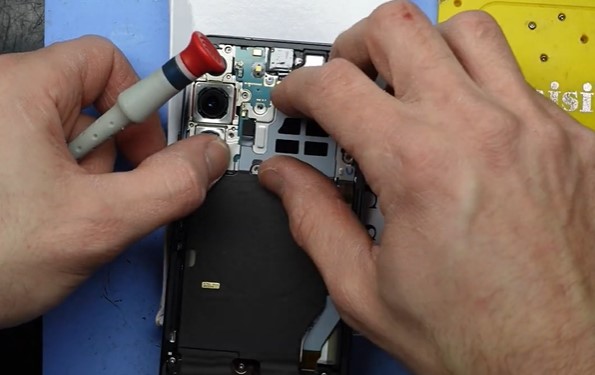
 Step 29: Secure the Metal plate
Secure it with the metal plate. Also, make sure to reattach any other components that we removed earlier. Do not forget to tighten up the screws with the help of screw divers.
 Step 30: Place the Adhesive
Use B7000 frame adhesive and put it around the corners of your screen.
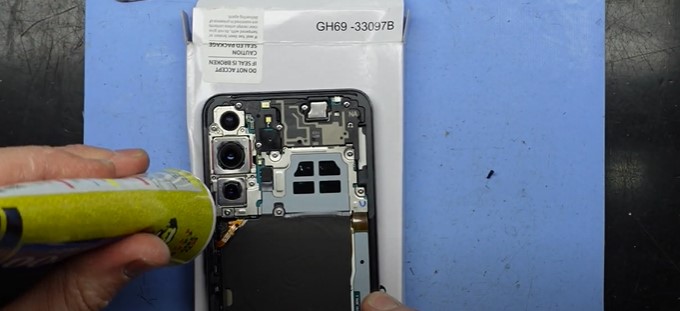
 Step 31: Reattach the Back Cover
Now reattach the back cover with your phone and gently press it down. Make sure all the corners are properly fit.
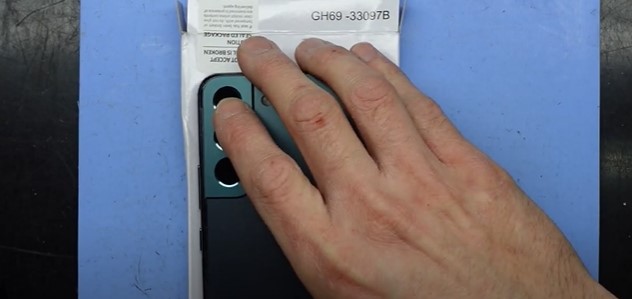
 Step 32: Power on your device
Power on your phone: Turn on your Galaxy S22 Plus and test the new replacement screen to ensure it’s working correctly.
 Conclusion
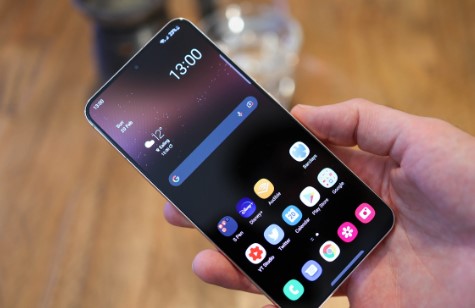
So this is a comprehensive guide to replacing the screen on your Samsung Galaxy S22 Plus! You may find it a difficult task at first. But we are sure you can handle it easily with practice and patience. During the process, if you feel uncomfortable or unsure, you can skip the DIY at home and get the professional repair service near to you.

 Step 2: Purchase a Replacement Screen
 Step 3: Gather the Necessary Tools
 Step 4: Power Off the Device
 Step 5: Heat the Bottom Of Your Samsung Galaxy S22 Plus
 Step 6: Remove the Back Cover
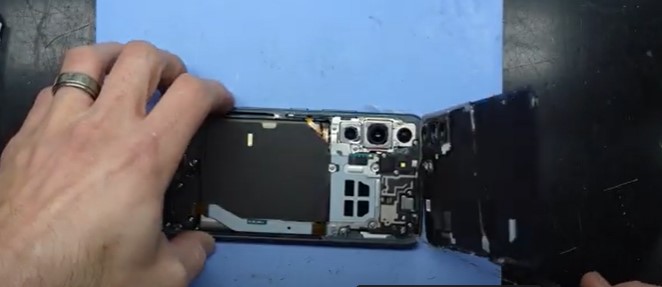 Step 7: Unscrew the Screws
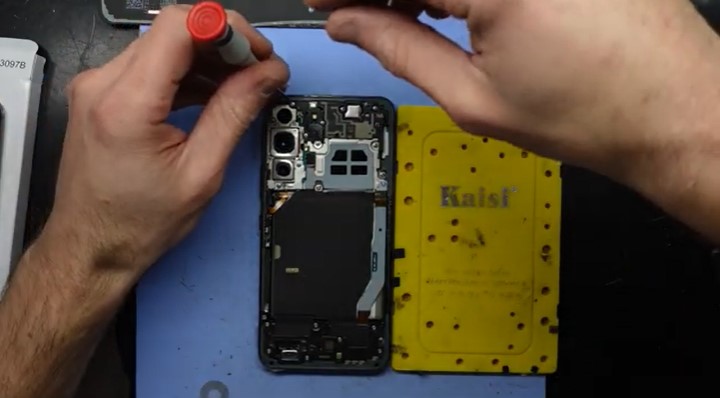 Step 8: Remove the Charging coil & NFC Antenna
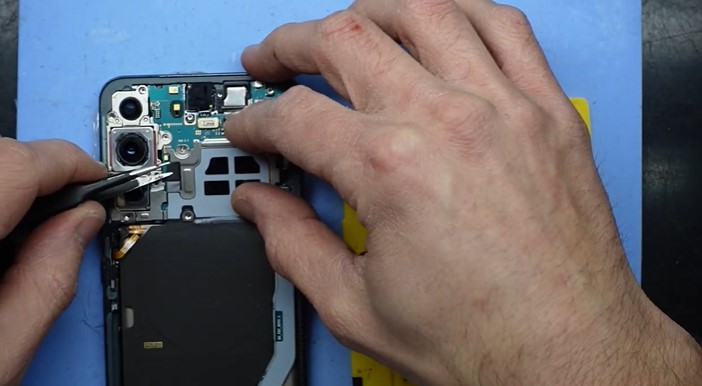 Step 9: Disconnect the Battery
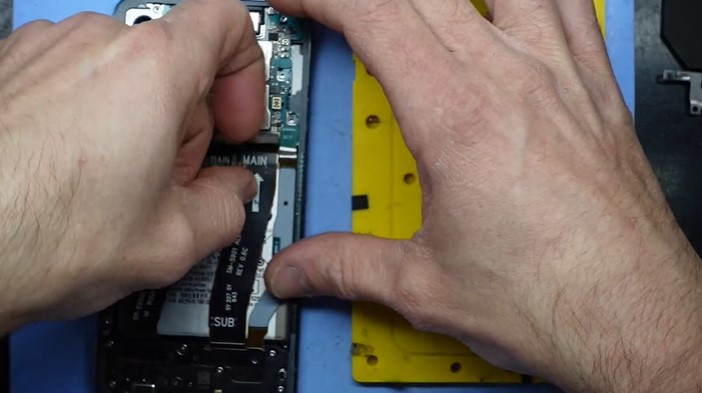 Step 10: Remove the SIM Card Tray
 Step 11: Disconnect Screen Flex Connector
 Step 12: Remove Loud Ear Speaker
 Step 13: Remove Front Facing Camera
 Step 14: Remove the Battery
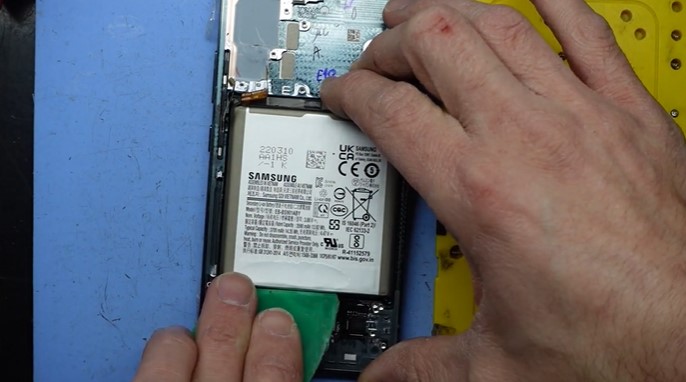 Step 15: Remove the Button Pad
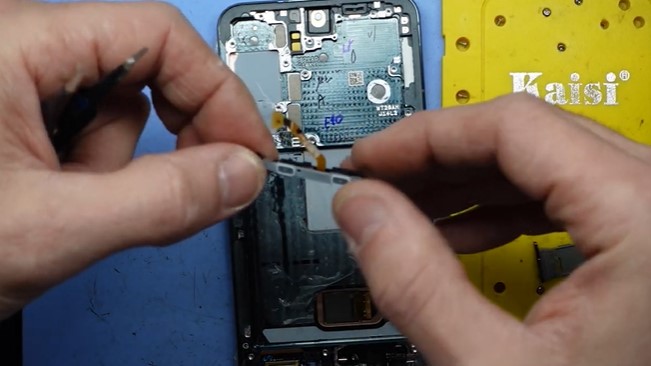 Step 16: Remove the Power & Volume Button
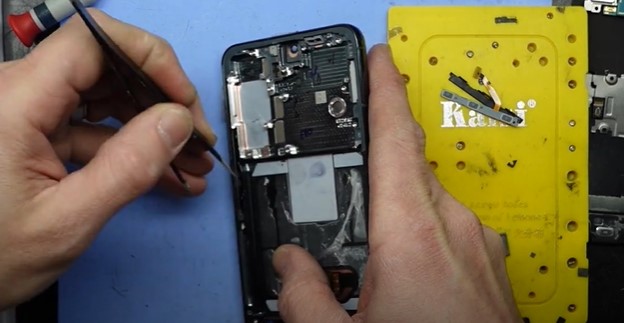 Step 17: Put the Power & Volume Button on the Replacement Screen
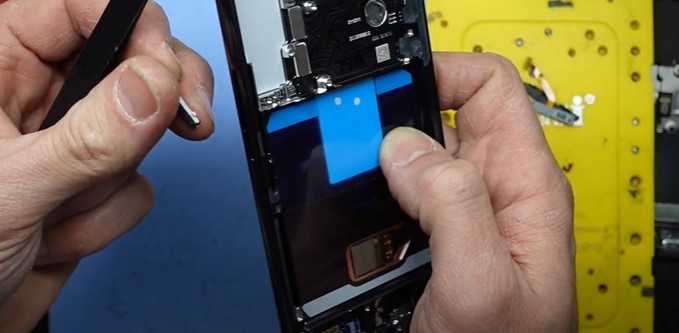 Step 18: Put the Button Pad in the Replacement Screen
 Step 19: Put Front Facing Camera
 Step 20: Place Earpiece Speaker
 Step 21: Place Battery
 Step 22: Place Rear Cameras Board
 Step 23: Connect the Home Button and Power Buttons
 Step 24: Place the Charging Board
 Step 25: Reconnect Interconnect Cables
 Step 26: Place Loud Speaker
 Step 27: Put the Sim Tray Back
 Step 28: Reconnect the Connectors
 Step 29: Secure the Metal plate
 Step 30: Place the Adhesive
 Step 31: Reattach the Back Cover
 Step 32: Power on your device
 Conclusion