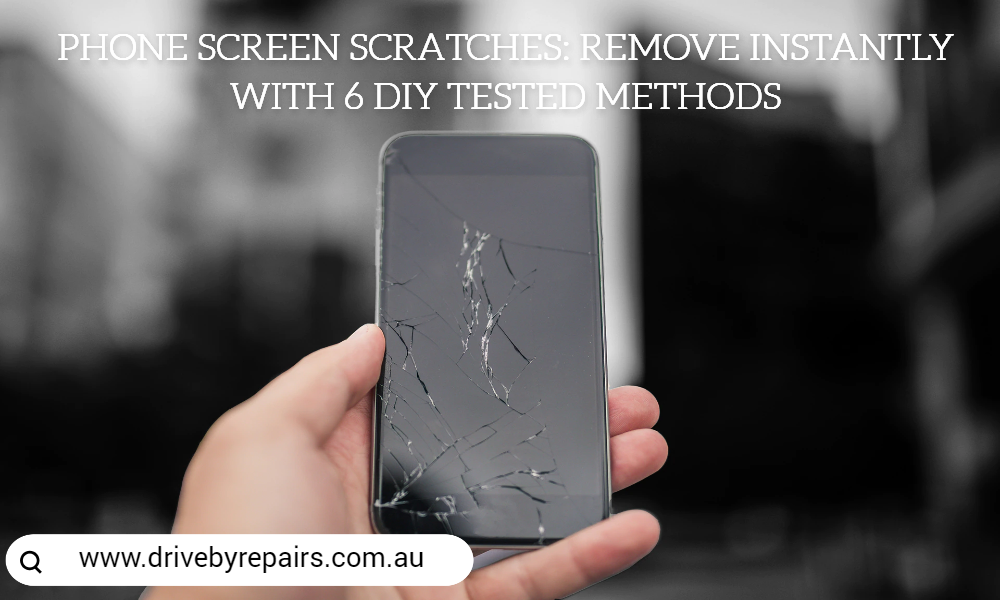
Scratches on phone screens can be a frustrating and all-too-common problem. But the good news is that there are several DIY methods available to help remove them. From using common household items like toothpaste to trying out specialized phone screen scratch repair liquid or phone screen scratch repair kit, there are many effective solutions to tackle those pesky scratches and restore your phone screen to its former glory.
Why spend a fortune on professional mobile phone repairs service or iPhone screen replacements service when you can easily fix your phone screen at home? So, let’s explore some of the most innovative and budget-friendly ways to remove scratches from your phone screen. We’ll provide you with step-by-step instructions and tips for success, so you can confidently tackle this issue on your own.
So whether you’re dealing with minor scratches or deep ones, we’ve got you covered. Say goodbye to those unsightly blemishes and hello to a beautiful, scratch-free phone screen!
1. The Miracle Scratch Remover: Toothpaste!
If you’re looking for a budget-friendly and easy DIY solution to remove scratches from your phone screen, toothpaste may be the answer. But can toothpaste really remove scratches from your phone screen? And can it damage your phone? Let’s dive into the details.
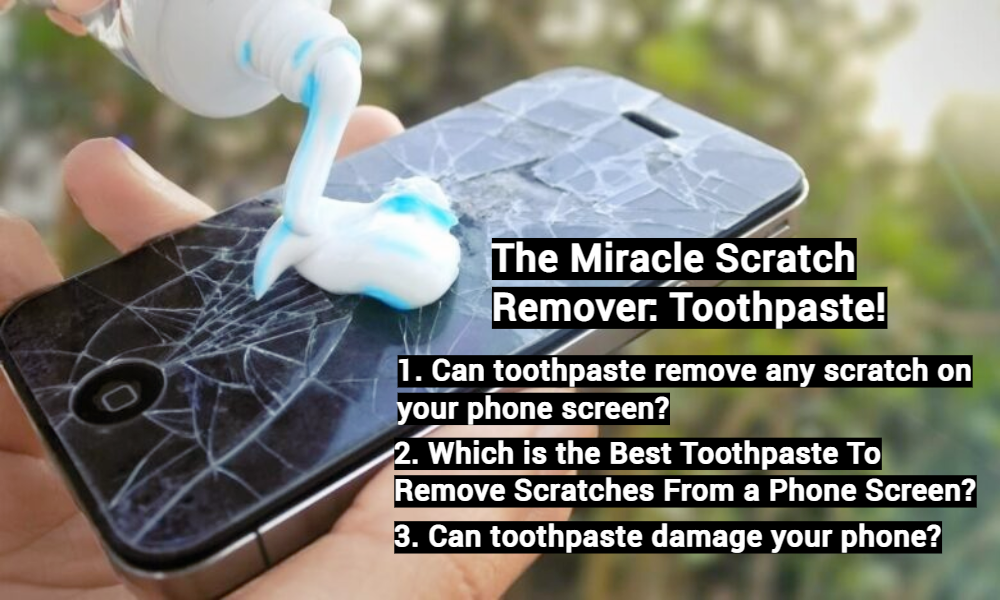
Myth #1: Toothpaste can remove any scratch on your phone screen.
It is a common misconception that toothpaste can remove any scratch on your phone screen. In fact, a study by The Wirecutter reveals that toothpaste is only effective in removing very minor scratches such as surface-level scuffs. But it didn’t work for deeper or more severe scratches. This is because toothpaste is a mild abrasive, meaning it can help buff out small imperfections. It’s not powerful enough to remove deep gouges or cracks.
Furthermore, the type of phone screen you have can also impact the effectiveness of the toothpaste. For instance, if you have a phone with a tempered glass screen protector, toothpaste may be more effective in removing scratches. This owes to the fact that tempered glass is generally more durable and scratch-resistant than other types of phone screens.
Myth #2: Toothpaste can damage your phone.
We get it; you’re worried about using toothpaste on your phone screen. But, fear not! As long as you follow the proper steps and use the right kind of toothpaste, your phone screen should be safe from harm.
First off, make sure to use non-gel toothpaste with gentle abrasives. Using abrasive toothpaste can actually make the scratches on your phone worse and cause damage to the screen. Not good!
But, don’t worry; there are plenty of toothpaste options out there that contain gentle abrasives like calcium carbonate or hydrated silica. Just make sure to avoid toothpaste with gritty substances like baking soda.
When applying the toothpaste, be sure to use a soft microfiber cloth and rub it in a circular motion for a few minutes. You don’t want to apply too much pressure or you may end up causing more damage to the screen.
Which is the Best Toothpaste To Remove Scratches From a Phone Screen?
Now, this is a million-dollar question! The answer lies in toothpaste that is labeled as “whitening” or “tartar control.” These types of toothpaste contain gentle abrasives that can help to remove scratches from your phone screen
But, don’t just take our word for it. A study by CNET found that Crest 3D White toothpaste was effective in removing scratches from a phone screen. Plus, a survey by YouGov found that 22% of respondents had successfully used toothpaste to remove scratches from their phone screens.
Other best toothpaste that can actually remove scratches includes Colgate Tartar Control which has also been recommended by some tech experts and YouTubers for its gentle abrasives and the Arm & Hammer Advance White. Although this toothpaste does contain baking soda, when used in small amounts and in the right way can lighten scratches!
Step-by-step guide for using toothpaste to remove phone screen scratches:
-
Start by cleaning your phone screen with a soft cloth to remove any dirt or debris.
-
Apply a small amount of toothpaste (not gel) to a soft, microfiber cloth.
-
Gently rub the toothpaste onto the scratch in a circular motion for a few minutes. Be sure to use light pressure and avoid pressing too hard.
-
Wipe away any excess toothpaste with a clean, damp cloth.
-
Check to see if the scratch has been removed. If not, you can repeat the process.
How Often Can We Use Toothpaste To Remove Scratches?
According to experts, using toothpaste to remove scratches from your phone screen should be done sparingly, perhaps once every few months or as necessary.
Overuse of toothpaste can harm the protective coating on your phone screen, which can result in more scratches and other types of damage. It’s also worth noting that frequent use of toothpaste can make it challenging to remove scratches in the future, as it can wear down the surface of your phone screen. To avoid this, it’s best to use toothpaste judiciously and give your phone screen enough time to recover before repeating the process.
2. The Magical Magic Eraser to Remove Scratches
Have you ever wished you had a magic wand to wave away all the scratches on your phone screen? Well, a magic eraser might be the next best thing! Magic erasers are made of a material called melamine foam, which is known for its ability to gently scrub away dirt and grime. When wet, the foam becomes slightly abrasive, making it effective at removing minor scratches from phone screens.
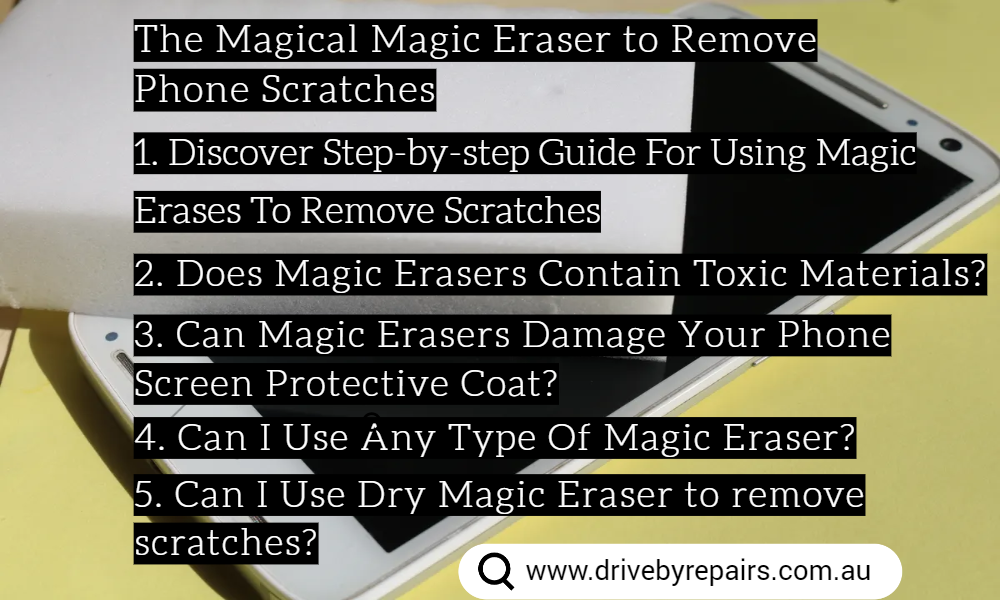
Step-by-step Guide For Using Magic Erases To Remove Scratches
-
Start by wetting the magic eraser with water.
-
Make sure to wring out any excess water, as you don’t want to get your phone too wet.
-
Next, gently rub the magic eraser onto the scratch in a circular motion for a few minutes.
-
Be sure to apply only light pressure, as too much pressure can cause further damage to your phone screen.
- Once you’ve rubbed the scratch for a few minutes, wipe away any excess with a clean, damp cloth. And voila! Your phone screen should look as good as new.
Does Magic Erasers Contain Toxic Materials?
People are often worried that magic erasers are made of toxic material, but that’s not true! While you should avoid eating them (just like you should with any non-food item), it’s completely safe to use them on surfaces.
A study published in the Occupational and Environmental Hygiene in 2011 tested melamine foam (the material used in magic erasers) for skin and eye irritation and ingestion toxicity, and found that it didn’t cause any significant issues. Plus, the Environmental Protection Agency considers melamine foam to be a safe and non-toxic material that doesn’t pose any major health risks to humans or the environment.
So, don’t worry about using magic erasers to remove scratches from your phone screen!
Can Magic Erasers Damage Your Phone Screen Protective Coat?
According to experts and a test conducted by Consumer Reports, using a magic eraser on your phone screen should not damage the protective coating – as long as you use it gently and don’t apply too much pressure. In fact, Consumer Reports rubbed a magic eraser on a phone screen for a whopping 30 seconds (much longer than the recommended time) and the phone screen showed no signs of damage to the protective coating.
Can I Use Any Type Of Magic Eraser?
Using a colored magic eraser to clean your phone screen may not be a good idea. Why? Because these types of erasers may have dyes that can transfer onto your phone screen and cause discoloration or other damage. On the other hand, white magic erasers are considered to be safer for sensitive surfaces like phone screens because they are less likely to have dyes.
Imagine you’re using a red magic eraser to clean your phone screen, and during the rubbing process, some of the red dye transfers onto your phone. It could leave a pink or reddish stain that’s tough to remove and could even make the scratch worse. So, to avoid this headache, it’s best to stick with a white magic eraser.
Can I Use Dry Magic Eraser to remove scratches?
Never ever do this as it might end up removing protective screen of your phone! Always wet it and wring out any excess water before applying it to your phone screen to avoid getting water into any ports or openings. Additionally, do not exceed more than a few minutes while applying in circular motions.
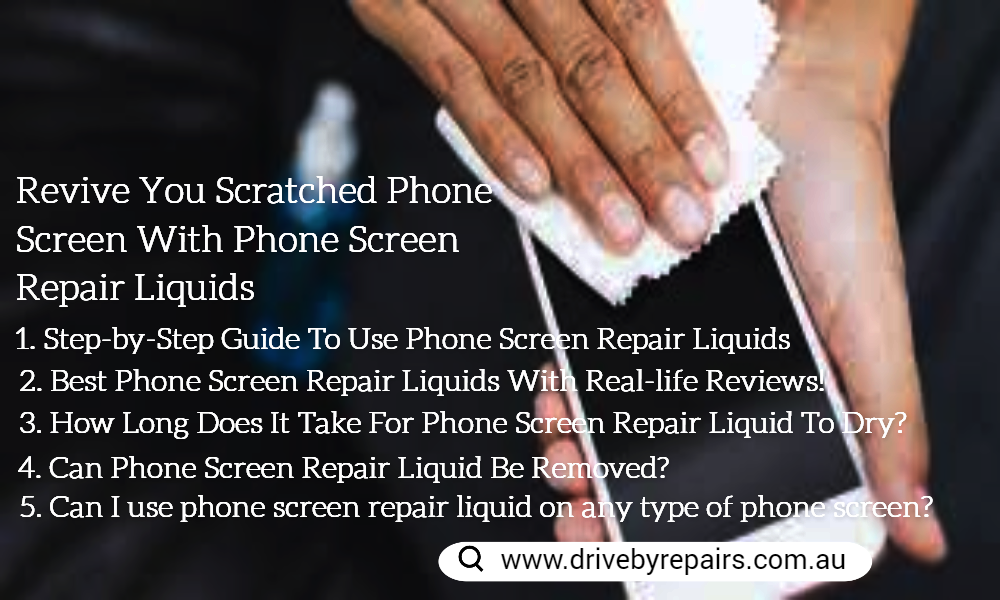
3. Revive You Scratched Phone Screen With Phone Screen Repair Liquids
Phone screen repair liquids are the new talk in the town! Typically made with a combination of polymers, solvents, and other chemicals that work together, forming a protective thin layer on your phone screen. Thus, covering up the scratches and making it nearly invisible. The exact chemical composition of these liquids can vary depending on the brand and product, but they generally contain a blend of ingredients that are safe to use on phone screens.
One common ingredient found in phone screen repair liquids is polymethyl methacrylate (PMMA), which is a type of acrylic resin that’s often used in adhesives and coatings. PMMA is known for its transparency, strength, and durability, which makes it an ideal choice for creating a protective layer over a scratched phone screen.
Other common ingredients in phone screen repair liquids may include solvents like isopropyl alcohol or ethyl acetate, which help dissolve and blend the various chemicals together. These solvents evaporate quickly, leaving behind a smooth and even layer over the scratch.
Step-by-Step Guide To Use Phone Screen Repair Liquids
- First, clean your phone screen thoroughly with a microfiber cloth to remove any dirt or debris.
- Then, apply a small amount of the liquid to the scratch, using the included applicator or a clean, soft-bristled brush.
- Let the liquid dry completely before using your phone again.
Best Phone Screen Repair Liquids With Real-life Reviews!
- Novus 7100 Plastic Polish is a highly rated phone screen repair liquid that’s known for its ability to restore clarity to plastic surfaces. Many users have reported success using it on phone screens. But it’s important to note that it’s specifically designed for use on plastic surfaces.
- iReparo Liquid Screen Protector is a newer product that’s gaining popularity in the phone screen repair market. This liquid solution is applied to the surface of the phone screen and dries to form a thin, protective layer. Thus, filling in small scratches and prevent further damage. However, some users have reported that the protective layer may wear off over time and may not be as effective as other repair methods.
- Flitz Multi-Purpose Polish and Cleaner is another popular option that’s marketed as a multi-purpose cleaner and polisher. While it’s not specifically designed for phone screen repair, many users have reported success using it to remove scratches. It’s important to note that this product contains abrasive particles. So it should be used with caution and only on screens that are not easily scratched.
- Brasso Metal Polish: While not specifically marketed as a phone screen repair liquid, some users have reported success using Brasso to remove scratches from their phone screens. However, caution should be exercised as Brasso can be abrasive and may damage the screen if used incorrectly.
How Long Does It Take For Phone Screen Repair Liquid To Dry?
The drying time can vary based on the type of product you’re using. But it typically ranges from just a few minutes to an hour. That’s not too long to wait, right?
To ensure the best possible outcome, it’s important to carefully follow the instructions provided by the manufacturer. Some products may require multiple coats and longer drying times. While others may work their magic with just a single application.
Once you’ve applied the liquid, resist the temptation to check on it every few seconds like a helicopter parent. Give it some space to do its thing and fully dry. This may require some patience, but trust us, it’ll be worth it.
Finally, make sure to avoid touching the repaired area or using your phone until the liquid has completely dried. This will help prevent any accidental damage or smudging, and ensure that your phone looks as good as new.
Can Phone Screen Repair Liquid Be Removed If I Don’t Like The Results?
If you’re not satisfied with the results of your phone screen repair liquid, you may be wondering if it’s possible to remove it. The answer is: it depends! Different brands may have different recommendations for removing their products. So it’s important to check the instructions before attempting to remove any phone screen repair liquid.
For example, let’s talk about the brand “Fixing a Phone”. They recommend using their specialized cleaning solution and a microfiber cloth to remove their phone screen repair liquid. Contrarily, iCracked iSesamo screen repair liquid can be removed with rubbing alcohol.
Klearlook suggests using warm water and a microfiber cloth to clean off excess liquid after application. But they do warn against using harsh chemicals or abrasive materials that can damage the phone screen.
It’s important to note that some phone screen repair liquids, like J-B Weld, create a permanent bond with the screen. Thus, attempting to remove the liquid could lead to more problems. If you’re unsure about how to remove the liquid or feel uncomfortable doing so, it’s best to seek professional help. Or wait for it to wear off naturally.
Can I use phone screen repair liquid on any type of phone screen?
When it comes to using phone screen repair liquids, most products on the market are designed to be compatible with a wide range of phone screens, including those fancy OLED and LCD displays. It’s always a good idea to follow the manufacturer’s instructions to avoid any surprises. But you can typically count on popular brands like “Fixing a Phone” and iCracked iSesamo to work with your device.
However, keep in mind that not all screens are created equal. Some may be more sensitive or prone to damage. So it’s always wise to test a small area first to avoid any mishaps. Don’t be afraid to get experimental, but make sure to take it slow and be cautious. And hey, if all else fails, you can always seek out a professional repair or replacement for your phone screen.
How often can I use phone screen repair liquid?
While phone screen repair liquids can be a quick and easy solution for small scratches, it’s important to use them in moderation. Using them too frequently can result in a build-up of the liquid. This can affect the clarity and sensitivity of your phone screen.
Most manufacturers recommend using their phone screen repair liquid only as needed; not more than once every few months. Overuse can also cause a hazy or cloudy appearance on the screen. Thus, making it difficult to read or see images clearly. In some cases, the liquid may even attract dust and dirt. This can further affect the appearance and performance of your phone screen.
4. Phone Screen Scratch Repair Kits To Remove Phone Scratches
Have you ever looked at your phone screen and noticed a scratch that just won’t go away no matter how much you try to wipe it off? Well, fear not! Screen scratch repair kits exist and they can be a lifesaver for your precious phone.
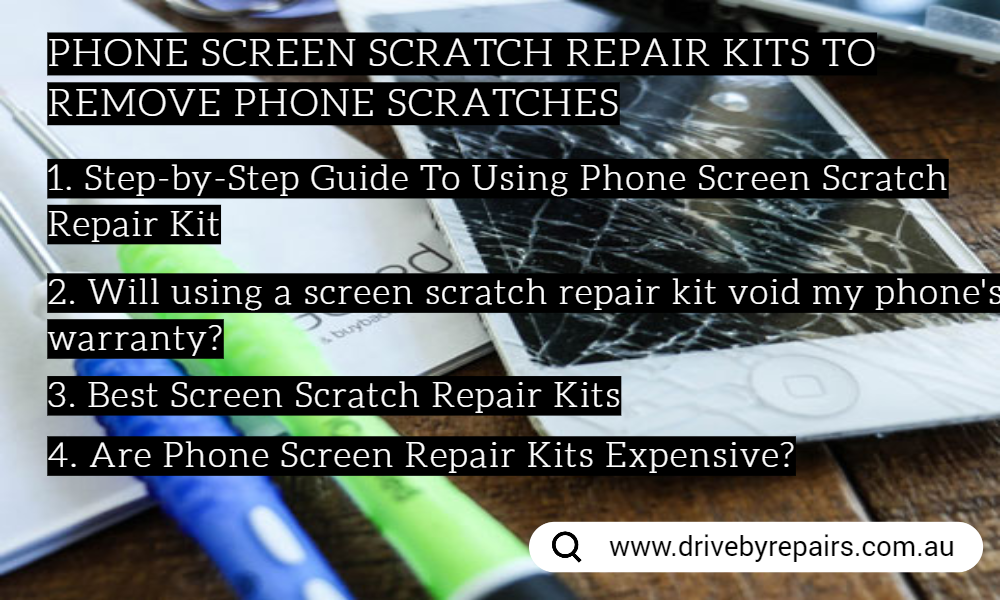
Basically, these kits contain a special formula that can buff out scratches and restore your phone screen to its former glory. The formula is usually a liquid or paste that has a fine abrasive to help buff out the scratch. Some kits even have a protective coating that can prevent future scratches from happening, which is a great bonus!
Step-by-Step Guide To Using Phone Screen Scratch Repair Kit
Now, let’s get down to the nitty gritty of how to use these kits. First, you’ll want to clean your phone screen with a soft microfiber cloth to get rid of any dirt or debris. Then, take the scratch repair solution and apply a small amount onto the microfiber cloth that comes with the kit. Next, gently rub the cloth in circular motions onto the scratched area with a bit of pressure. Keep doing this until the scratch is no longer visible.
Once you’re satisfied that the scratch is gone, use a clean microfiber cloth to wipe off any excess solution. Voila! Your phone screen should look as good as new. Just be sure to follow the instructions carefully so you don’t accidentally damage your screen further.
Will using a screen scratch repair kit void my phone’s warranty?
let’s say you have a phone that’s still under warranty and you decide to use a screen scratch repair kit on it. Unfortunately, while attempting to repair the scratch, you accidentally apply too much pressure and crack the screen. In this scenario, the manufacturer or service provider may void your warranty because you attempted to repair the device yourself and caused further damage.
However, it’s important to note that not all phone manufacturers have the same warranty policies. Some may allow you to use screen scratch repair kits without voiding your warranty, as long as you follow the instructions carefully and don’t cause any additional damage. It’s best to check with your manufacturer or service provider before attempting any DIY repairs on your phone.
Best Screen Scratch Repair Kits
- The iVoler Screen Repair Kit has been praised by customers for its effectiveness in filling in and smoothing out scratches on phone screens. Many have also commented on the kit’s easy-to-use applicator and clear instructions, making it a great option for those who are new to repairing scratches on their phone screens.
- The MagicFiber Screen Repair Kit has also received positive reviews on Amazon. Customers have reported that the solution included in the kit effectively removes minor scratches and restores the screen’s surface to its original state. Additionally, many have praised the included microfiber cloth for being gentle on their phone screens and leaving behind no residue.
- While the GLISTON Car Scratch Remover Kit is primarily marketed for car scratches, some customers have found success using it to repair scratches on their phone screens. The kit includes a solution that helps to fill in scratches and a polishing pad to buff out the surface. Customers have reported that the solution is gentle on phone screens and doesn’t cause any additional damage, making it a good option for those who want to try repairing scratches on their phone screen without risking further damage.
Are Phone Screen Repair Kits Expensive?
The cost of screen repair kits for removing scratches can vary depending on the brand, quality, and type of kit you choose. Here are a few examples:
- A basic cleaning and polishing kit that is designed to remove minor scratches and scuffs from phone screens can cost as little as $5-$10.
- A higher-end cleaning and polishing kit that includes a special cleaning solution and a microfiber cloth may cost around $20-$30.
- A resin repair kit that is designed to repair more extensive scratches or cracks in a phone screen can cost anywhere from $20-$50 or more, depending on the quality and brand of the kit.
- A replacement screen kit, which includes a new screen and all the necessary tools to replace the damaged screen, can cost anywhere from $50-$200 or more, depending on the phone model and quality of the kit.
While some screen repair kits may seem expensive at first glance, they can be a cost-effective option compared to replacing the entire phone or paying for a professional repair service. It is important to carefully evaluate the severity of the damage to your screen and choose a kit that is appropriate for your needs and budget. Additionally, investing in a high-quality repair kit can help ensure that the repair is successful and that you do not need to spend more money on additional repairs or replacements in the future.
5. Simple Petroleum Jelly Hack For Removing Phone Scratches!
Yes, you read that right, the same jelly you use to moisturize your dry skin can help remove scratches from your beloved phone.
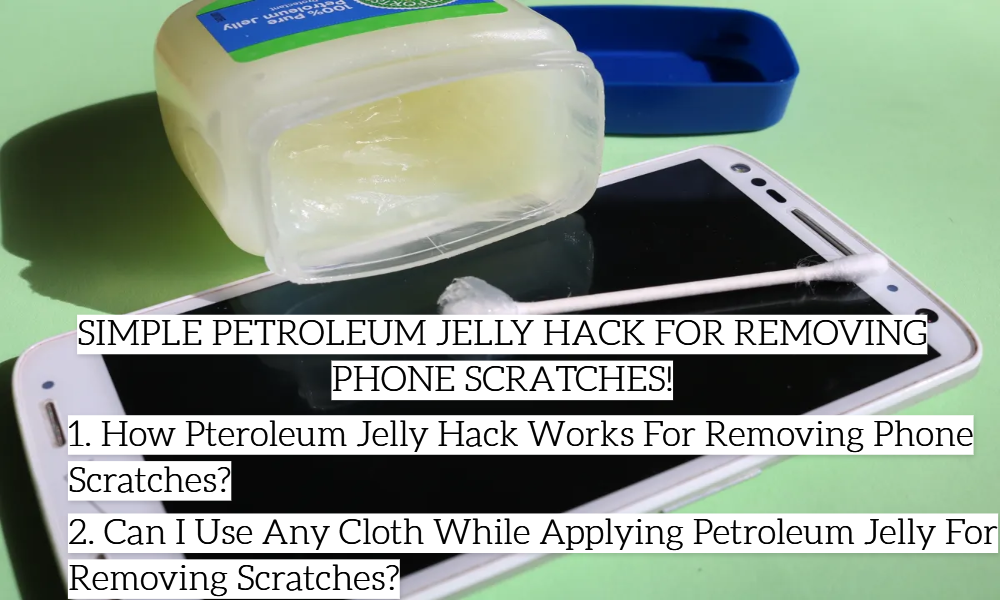
- Clean your screen, because nobody wants a dirty phone, are we right?
- Grab some petroleum jelly, also known as good ol’ Vaseline, and slather a small amount onto the scratched area. Don’t be shy, give it a good coating!
- Time to get those fingers moving! Use a microfiber cloth to gently rub the jelly into the scratches in a circular motion. It’s like giving your phone a little massage, who doesn’t love that?
- Let it dry for a few minutes. And by that, we mean catch up on your latest Instagram posts or take a quick cat nap. It’s up to you!
- Once the jelly has dried, grab another clean microfiber cloth and wipe away the excess. Hurray, your scratches are magically filled in and barely noticeable!
Why does this hack work, you ask? Well, petroleum jelly is made up of mineral oils and waxes that form a protective layer on the surface of your screen, filling in those pesky scratches. Plus, the gentle rubbing motion helps distribute the jelly evenly and ensures maximum effectiveness.
There might not be any specific science or stats to back this up, but lots of people have found success with this method. Plus, it’s a low-cost and super easy solution you can try right at home!
How long will this method last?
It depends on the severity of the scratches and the quality of the petroleum jelly you use. But, hey, even if it lasts for a few days or weeks, it’s still better than staring at those pesky scratches every day, right?
Can I Use Any Cloth While Applying Petroleum Jelly For Removing Scratches?
When it comes to cleaning and polishing delicate surfaces like phone screens, the type of cloth you use can make a big difference. While you may be tempted to reach for any nearby cloth to apply petroleum jelly onto your phone screen, it’s important to choose the right type of cloth to avoid causing further scratches.
One of the best options for cleaning phone screens is a microfiber cloth. Microfiber cloths are made of very fine fibers that are gentle on the screen and won’t scratch it further. They are also highly absorbent, which makes them great for cleaning off fingerprints and smudges without leaving any streaks behind.
On the flip side, rough or abrasive materials like paper towels or tissues can cause more harm than good. These materials can scratch the screen and leave behind lint or fibers that can be difficult to remove. So, it’s best to avoid using them when applying petroleum jelly or any other household item to your phone screen.
If you don’t have a microfiber cloth on hand, you can also try using a soft, lint-free cloth like a cotton t-shirt or a lens cleaning cloth. Just be sure to avoid any rough or abrasive materials that could potentially damage your screen.
6. Remove Minor Scratches from Your Phone Screen with Baking Soda Paste
If you’ve got some minor scratches on your phone screen, there’s a simple and affordable solution that might do the trick – baking soda paste! This stuff is amazing as it contains sodium bicarbonate, a mild abrasive that can help buff out scratches without causing further damage to your screen.
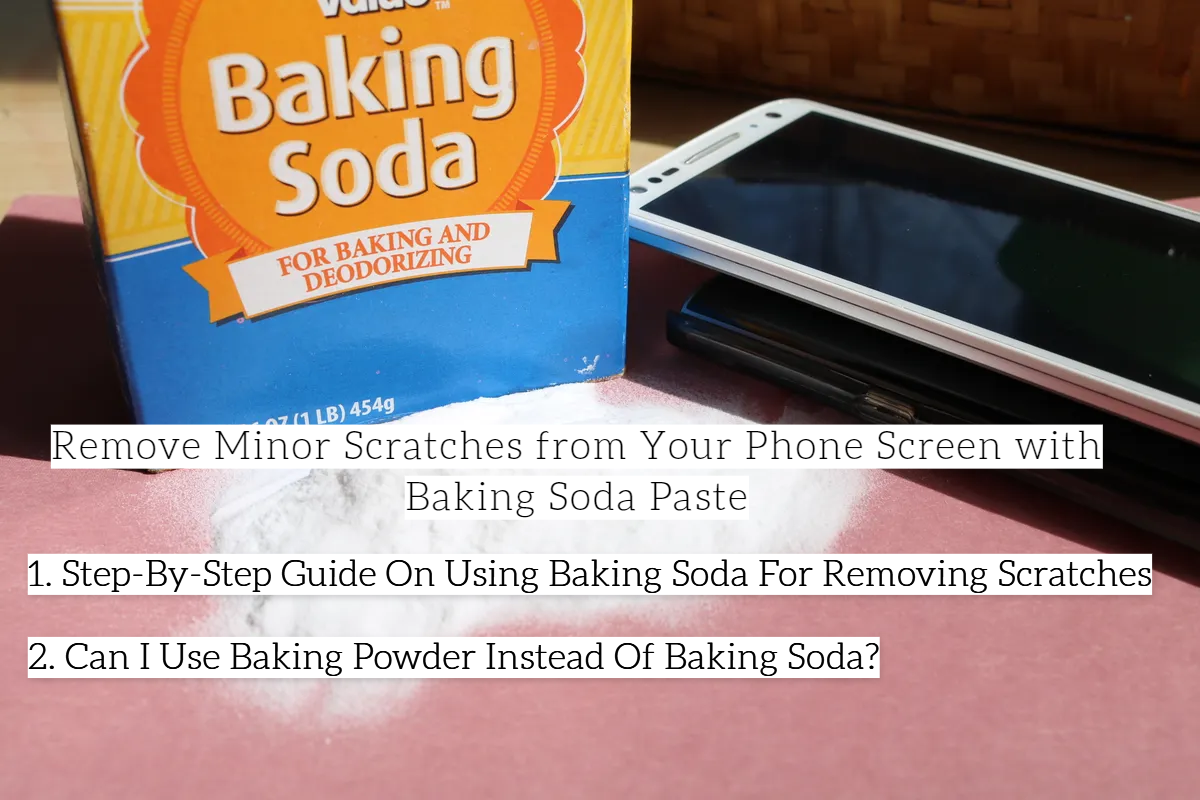
Step-By-Step Guide On Using Baking Soda For Removing Scratches
- To create the paste, all you need to do is mix a small amount of baking soda with water until it forms a thick, consistent paste. You want it to be toothpaste-like, not too runny or too thick. Then, just apply the paste to the scratched area of the phone screen using a soft, lint-free cloth.
- Gently rub the paste onto the screen in a circular motion for a few minutes, then wipe it off with a clean cloth. It’s important to remember that this method only works for minor scratches. If your screen is heavily damaged, you might need to take your phone to a professional.
- Also, it’s a good idea to test the mixture on a small, inconspicuous area of the phone screen first to make sure it doesn’t cause any damage. And, always use a small amount of water when mixing the paste to avoid making it too runny.
- Once you’re ready to apply the paste, be sure to apply it only to the scratched area and not the surrounding parts of the screen. And, when rubbing the paste onto the screen, be gentle and apply light pressure. You don’t want to cause any further damage to your screen.
- Finally, once you’ve finished rubbing the paste onto the screen, just wipe it off with a clean cloth. Make sure the cloth is clean to avoid leaving any residue on the screen. And there you go, your phone screen should be looking better in no time!
Can I Use Baking Powder Instead Of Baking Soda?
Baking powder and baking soda are not the same thing, even though they both have the word “baking” in their name.
Baking soda, or sodium bicarbonate, is a mild abrasive that can effectively buff out scratches without causing damage to the phone screen. On the other hand, baking powder is a combination of baking soda and an acidic ingredient, usually cream of tartar, and is used as a leavening agent in baking to help dough or batter rise.
The acidic component in baking powder can potentially damage the phone screen. As it can react with and corrode the screen’s delicate coatings or materials. Additionally, the texture of baking powder is not abrasive enough to effectively buff out scratches on the phone screen, making it less effective than baking soda.
Final Words
Do you still think that none of the above methods worked for you? Well, it might be a time to replace/repair your iPhone, iPad or Samsung Handset. And why not, if you got the bucks? But let us advise you some good things to remember forever!
Prevention is always better than a cure. Get yourself a case like folio case to protect your screen from scratches at the first place!
- In the study, SquareTrade Lab used a machine to simulate everyday wear and tear on a variety of smartphones with and without cases. They found that phones with cases showed significantly less damage than phones without cases. Specifically, the study found that phones with cases were 7 times less likely to suffer scratches than phones without cases.
- Don’t be swayed by the siren song of the latest phone models! Before you decide to upgrade your trusty device, ask yourself: Do you really need to? Or are you just feeling the peer pressure from your friends because of a little hiccup like a broken screen? It’s important to be pragmatic when making a decision like this. Sure, the newer models may boast shiny new features that you’re itching to get your hands on. But let’s take a moment to consider your current phone’s performance. Is it still ticking along just fine? Are you happy with it, even if it doesn’t have all the latest bells and whistles?
- When replacing or repairing a phone, backup all important data before doing anything else. This includes contacts, photos, videos, documents, and any other files you don’t want to lose. Backing up your data ensures that you don’t lose any important information in case something goes wrong during the repair or replacement process.
- Additionally, it’s important to remove any sensitive or personal data from your phone before handing it over for repair or selling. This can include backing up your data and resetting your phone to factory settings. This will help protect your privacy. And ensure that your personal information is not accessible to anyone during the repair process.