Do you want to know How can you set the timer on your iPhone camera? We will guide you through the simple steps to set a timer on your iPhone camera, which will empower you to capture beautiful memories with ease. If you are a new iPhone user or a user trying to set iPhone camera timer mode, this guideline is perfect for you.
Setting a timer on your iPhone camera is a convenient way to take multiple photos without needing assistance, You can capture group photos, self-portraits, and breathtaking landscapes with the timer mode of the iPhone camera. iPhone’s photo timer lets you choose between three and ten seconds of delay. Your iPhone camera timer can take 10 burst photos in a row, then you can choose the ones to keep or delete.
Let’s go through all the steps to set the timer on your iPhone camera.
Steps To Set Timer On iPhone Camera
Sometimes we do not find anyone to take group photos at some special events. But Apple company has solved this problem with the timer option of the iPhone camera. You can set the timer of your iPhone camera to capture unforgettable moments of your life by following all these simple steps:
Step 1
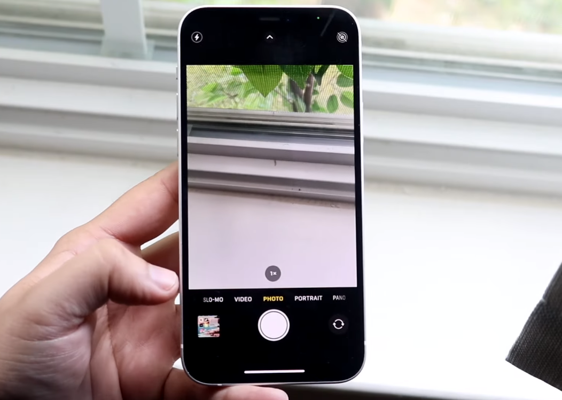
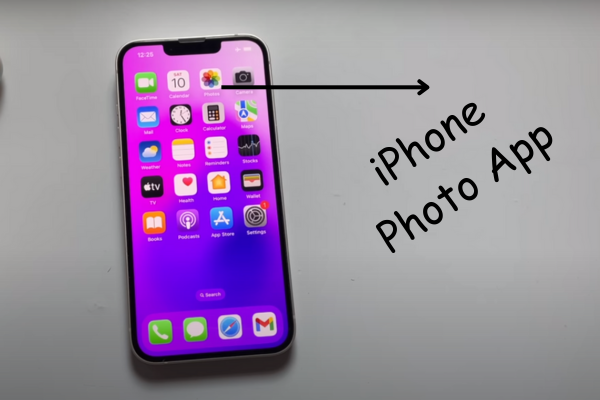
Open the Camera app on your iPhone by tapping the camera icon on your home screen.
Adjust the position of your iPhone according to the place where you want to take photos.
Step 2
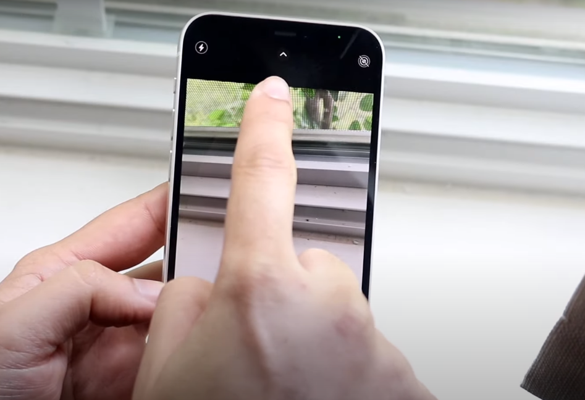
There is an arrow on the top center of the mobile screen. Tap on this arrow.
Step 3
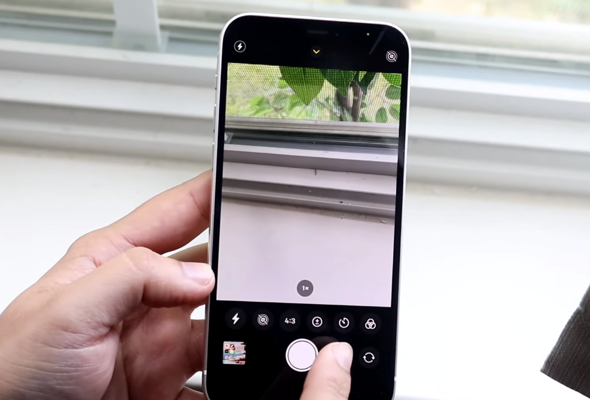
A slider will appear at the bottom. Drag it to the left to find the timer icon. It resembles a clock. Tap on it to access the timer options menu.
Step 4
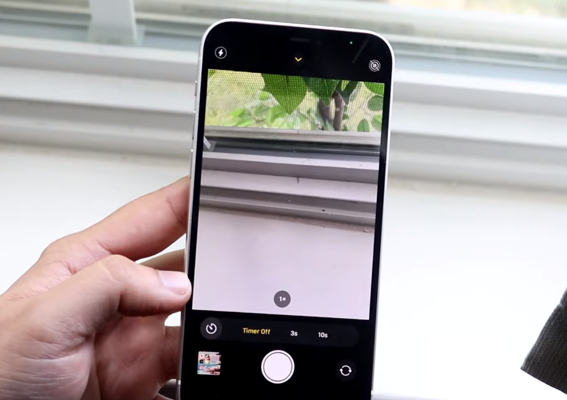
Now select a countdown for the timer. You can choose 3 seconds or 10 seconds countdown option for the timer. This setting determines the delay before your iPhone captures the photo.
Step 5
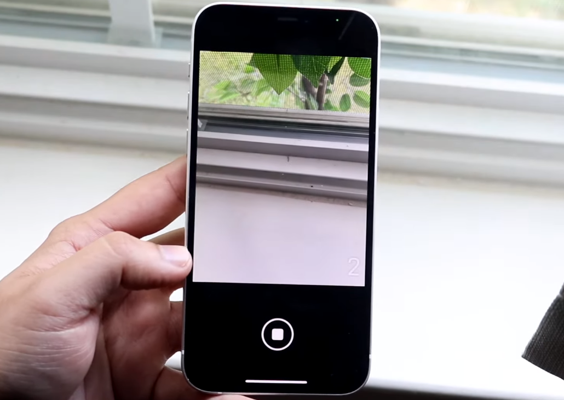
Start the self-timer by tapping the shutter button. You can stop the timer at any point by tapping the stop button.
Step 6
After the timer expires, the photo will be captured, and you can review it immediately. When the photo has been captured, open the iPhone Photos app. Go to the photos you took with the self-timer, and then tap the one that you wish to keep or use.
Important Tip
By tapping Select at the bottom, you will see 10 different burst images taken using the self-timer. Scroll through the images and tap the ones you want to keep. You can keep all 10 photos if you like. Just tap Done at the top right of the screen to keep them.
But if you have selected only some photos to keep, and you want to discard others, then tap Keep Only Favorites in the pop-up. Alternatively, tap to Keep Everything.
Bottom Line
The iPhone picture timer is a fantastic feature that allows you to effortlessly capture group shots and take captivating self-portraits or solo photos. By following the straightforward steps outlined in our guide, you can take full advantage of this convenient tool and capture your precious memories. So, let’s embrace the power of the iPhone camera timer and unlock a world of creative possibilities in your photography.


